Keep Your Ceiling Fresh In The North Carolina Areas
You can paint a ceiling in 5 steps.
Ceiling painting involves prepping the room, using a ladder or paint tool extender, and a lot of arm stamina. You’ll want to work in small, 4×4 square sections starting in a corner. Always start each section by carefully painting a small boundary where the wall and ceiling meet so the paint doesn’t end up on the wall too.
It’s Not The Sistine Chapel (Thankfully)
Matt glares at his ceiling in frustration.
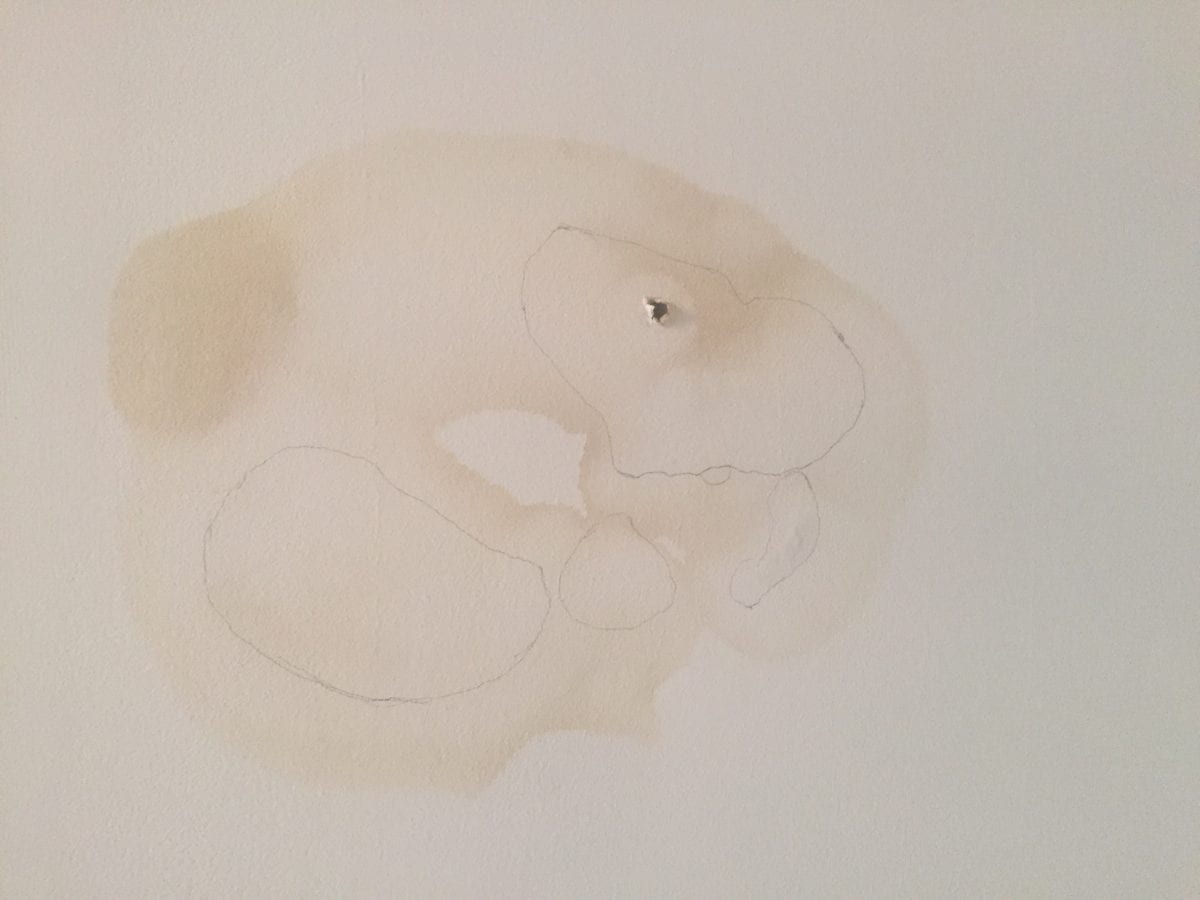
In all honesty, it’s the toilet upstairs he should be mad at. That’s what has been leaking and causing his ceiling to get water-stained, and not even in the shape of a celebrity, just a brown patch:

Now he’s going to have to paint his ceiling. The stain is so big he may as well go ahead and paint the whole ceiling anyway. He should probably look into a professional interior painting service but he wants to try it with his own hands first. He just fixed the toilet so he should be able to paint a ceiling prettty easily.
Matt goes to get his tools and materials so he can start his ceiling painting project.
Tools And Materials For Ceiling Painting
- Hat and safety glasses
- Drop Cloths
- Roller
- Brush (2-2.5 inches)
- Bucket
- Ladder or Roller Extender
- Ceiling/Primer paint in one

Use a low nap roller for smooth ceilings and a .5 or .75 inch nap for textured ceilings. An extension pole can help you reach the ceiling without a ladder.
Now that Matt has everything he needs he can start preparing the room for the project.
Prepping The Room
This part is basically a miniature project in itself:
- Move all furniture out of or into the center of the room
- Cover everything with drop cloths
- Remove any ceiling fans and light fixtures and cover the remains with plastic
- Turn off power to the room at the circuit breaker first
- With recessed lights you’ll need to remove the bulb and pull the trim down a little first
- Clean the ceiling by vacuuming corners and then wiping it down with a damp rag
- Prime the ceiling, which is only necessary if it:
- is bare drywall
- has stained or repaired areas
- is bare wood
- has high-gloss finishes
- will go through drastic color changes
- If the ceiling is oil-based you can paint over it with acrylic paint
Once he finishes prepping the room Matt can finally start painting the ceiling.
5 Steps For Ceiling Painting
- Put painter’s tape around the edges
- Prime if you have to
- Use your brush to lightly paint a 3-inch border between the wall and ceiling edge
- as you get further from the wall paint more lightly (i.e. feathering the edges)
- Roll your paint on!
- Once you finish a couple sections, go back and lightly smooth out the paint with a blank roller
Matt knows this isn’t everything he needs to know for how to paint a ceiling.
For the actual painting, roll in straight lines (not a W or V pattern) towards yourself to minimize paint getting on yourself.
Take the roller and roll it into the paint. Remove any excess paint. Start in a corner and paint in 4×4 foot sections at right angles (first one way then the other). Finish painting the section in one direction before going in the other. Roll slowly so the paint won’t splatter everywhere.
For vaulted ceilings start at the highest point and work your way down. Brush small areas in straight lines and after you complete a couple of sections smooth out the paint with a blank roller.
Please leave high ceilings to professionals
Good To Know
Popcorn ceilings can be painted, but you’ll need to use a roller with a deeper knap. More paint is needed to get into the grooves of a textured ceiling but be careful not to get it too wet.
Goodbye Water Stain, Hello New Ceiling
Matt wipes his face with a clean rag as he checks out his handiwork. Everything looks good for right now but he’ll need to keep an eye on it for the next few days to make sure it stays that way. It’s a good thing he already fixed the toilet or else that stain would come right back.
If things don’t go as planned you can always learn how to fix the paint job >>
