It happens to the best of us. You’ve spent time and effort painting a room, stepping back with anticipation, only to spot them: an uneven patch, an unsightly drip, or a stubborn roller mark. These unwelcome surprises can pop up on walls, trim, ceilings, and even light fixtures. It’s frustrating, right? The good news is, most painting errors have a fix that’s much simpler than repainting the entire area.
At Sherwood Painting, an interior painter Cornelius NC, we’ve seen it all. We understand that even with the best intentions, painting can sometimes go awry. In this comprehensive guide, we’ll walk you through how to tackle some of the most common painting problems, helping you achieve the smooth, beautiful finish your home deserves.

Essential Painting Tips to Prevent Problems
Before we dive into specific fixes, let’s cover some general painting wisdom that can prevent issues from occurring in the first place, or help you make quick corrections.
Identifying Your Paint Type: Oil vs. Latex
Knowing whether you’re dealing with oil based or latex (water based) paint is crucial, especially when it comes to cleaning and touch ups. Here’s a quick way to tell the difference:
- The Rub Test: Dab a small, inconspicuous spot on the painted surface with a clean cloth soaked in clear window cleaner or rubbing alcohol (or even nail polish remover). If the paint starts to come off and transfer to the cloth, it’s likely latex paint. If it doesn’t budge, you’re probably dealing with oil based paint. Oil paint creates a harder, more durable surface, while latex paint is more flexible and permeable.
Always Have a Damp Rag Handy
This simple tip can save you a lot of grief. Keep a damp rag, sponge, or paper towel nearby while you’re painting. If you get a drip or a spill on an unintended surface while the paint is still wet, you can quickly wipe it away before it dries and becomes much harder to remove. Immediate action is key to preventing bigger problems.
The Power of Priming
Priming is almost always a good idea, and sometimes, it’s absolutely essential. Primer acts as a sealant, creating a uniform surface for your paint. It seals off any old paint, especially if you’re painting a darker color over a lighter one, or vice versa. It also helps with adhesion and allows you to maintain a “wet edge” with your roller, which is vital for preventing lap marks. A good primer ensures better coverage, truer color, and a more durable finish.
Prevent Roller Edge Lines
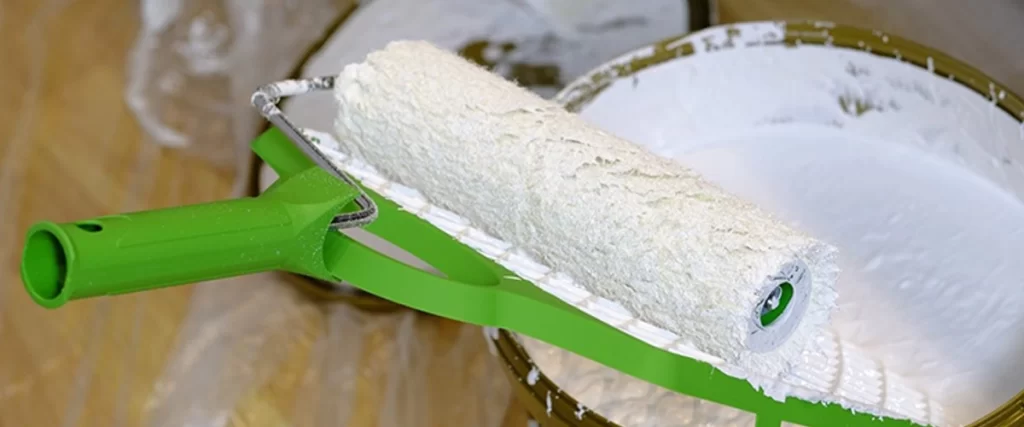
Every now and then, as you’re rolling paint onto the wall, gently press the paint out of the edges of your roller. Rollers can sometimes accumulate excess paint on their sides, leading to thick, raised lines at the edges of your painted sections. By “flattening” these edges periodically, you can prevent these unsightly marks and ensure a smoother, more uniform application.
Dealing with Severely Damaged Walls
While sanding is often the first line of defense for minor imperfections, it can be quite challenging, especially on latex paint, which tends to gum up sandpaper. If your walls are severely messed up with deep imperfections, numerous drips, or extensive roller marks, sanding alone might not be enough. In such cases, consider skimming the wall with drywall compound or patching material. This involves applying a thin, even layer of the compound over the entire problematic area, smoothing it out, and then sanding it perfectly smooth once dry. This creates a fresh, even canvas for your paint.

Read More:
How To Paint Acrylic Over Oil Paint On Homes in 7 Easy Steps
How To Repair A Water Damaged Ceiling And Stop It From Recurring
How to Correct Common Painting Problems & Solution
Sometimes, despite your best efforts, problems arise. Here’s how to fix some of the most frequent painting mishaps. If your paint problems go beyond what you read here, or if you’re dealing with extensive issues, it may be best to consider hiring a professional interior painting services like Sherwood Painting.
How to Fix Uneven Paint (The “Patchwork Quilt” Look)
If your walls resemble a patchwork quilt, with some areas looking thinner, streaky, or showing the old finish underneath, it simply means you haven’t applied enough coats of paint. The solution is straightforward:
- Wait for the paint to dry: Ensure the current coat is completely dry before adding another. Painting over wet paint can cause more problems like bubbling or streaking.
- Apply another coat: Load your roller evenly and apply another consistent coat of paint.
- Maintain a wet edge: As you roll, make sure the edge of your roller always overlaps with the previously painted, still wet section. This prevents visible “lap marks” where one section dries before the next is applied.
- Repeat as needed: Continue applying coats until you achieve the desired uniform color and coverage.
Pro Tip: Using a commercial (18 inch) roller can significantly speed up the process on larger walls, allowing you to cover more area quickly and maintain a wet edge more easily. While it might be a slightly larger initial investment, it often leads to a more professional looking result due to its efficiency and broader coverage.
How to Fix Dried Paint Drips (The “Running Trails” Look)
Those unsightly paint drips, also known as “runs,” usually happen when your brush or roller is overloaded with too much paint, causing it to flow down the wall before it can dry evenly. If your walls look like they have running trails, here’s how to smooth things out:
- Scrape and/or Sand: For minor drips, use a paint scraper or a razor blade to carefully scrape off the dried drips. For a smoother finish, follow up by sanding the area until it’s perfectly flat and smooth.
- Patching (if necessary): Be careful when scraping and sanding, as you might inadvertently remove underlying paint layers. If you create a depression or expose the bare wall, patching compound may be necessary to build the area back up to level. For very severe drips, it might be easier to patch the entire problematic section rather than trying to salvage the old paint.
- Clean the Area: Wipe the sanded/patched area with a damp cloth to remove any dust or debris.
- Repaint: Once dry, prime the patched area (if applicable), then repaint the section, blending it carefully into the surrounding wall.
How to Fix Roller Marks (The “Lap Lane” Look)
If your walls resemble the lap lanes in a swimming pool, with distinct lines or ridges, you’re experiencing roller marks. This usually occurs when you don’t maintain a wet edge with your roller, or when you apply paint too thickly or unevenly. To remedy this:
- Sand Down Uneven Areas: Start by sanding down the visible roller marks until the surface is smooth and uniform.
- Patching (if necessary): If the marks are deep or sanding creates depressions, you might need to use patching compound to level the surface. Be cautious not to remove underlying paint excessively.
- Clean Off Dust: Thoroughly wipe away all sanding dust with a damp cloth or tack cloth.
- Prime the Area: Apply a high quality primer to the repaired and sanded area. This helps ensure even absorption and a consistent base for your topcoat.
- Apply a Sufficient, Uniform Coat: Once the primer is dry, apply a uniform coat of paint, making sure your roller is evenly loaded and you maintain a wet edge as you work. Roll the paint out from the sides of your roller regularly to prevent those thicker edge lines.
How to Remove Ceiling Spots
Did a rogue dab of wall paint end up on your ceiling? It’s a common oversight, but thankfully, an easy fix:
- Wet Paint: If the paint is still wet, immediately spray a clean brush with clear window cleaner (yes, window cleaner!) and gently wipe the paint off. Be careful, as window cleaner can remove more paint than you intend, so use it sparingly and precisely.
- Dry Spots: For dry paint spots, you’ll need to touch them up with a small brush. Apply a small amount of ceiling paint and then “feather the edges” of your touch up. Feathering means applying the heaviest paint directly over the spot, then using lighter, fading brush strokes as you move outwards, blending the new paint seamlessly into the existing ceiling.
Read More:
This Is How To Clean Wall Paint Back To Beautiful In 3 Different Ways
5 Steps On How To Paint A Ceiling From Prep To Finish
How to Remove Brush Marks
Brush marks on your walls aren’t usually a sign of artistic flair; they mostly happen when paint is applied too thickly or unevenly with a paintbrush, often during “cutting in” (painting areas where rollers can’t reach, like corners and along trim). If you’ve got them, here’s how to deal:
- Sand Down the Area: Lightly sand the brush marks until the surface is smooth and the ridges are gone.
- Patching (if necessary): If sanding creates depressions, or the marks were very pronounced, you might need to apply a thin layer of patching compound.
- Clean it: Remove all dust and debris with a damp cloth.
- Repaint it: Apply a fresh, even coat of paint to the area, ensuring you use a technique that minimizes brush marks (e.g., using a high quality brush and not overloading it).

How to Remove Paint from Windows
Don’t let paint blotches spoil your view! The key here is patience: let the paint dry completely before attempting removal. Trying to wipe wet paint often just spreads it and makes a bigger mess.
- Scrape with a Razor Blade: Once the paint is dry, take a clean razor blade and gently scrape off the offending paint. Hold the blade at a slight angle to avoid gouging the glass.
- Clean the Blade: After each pass, wipe any accumulated paint off the razor blade to keep it clean and effective.
Quick Tip: If the paint is on the edge of a wood window frame and extends slightly onto the glass, it’s often recommended to leave about a sixteenth of an inch of paint on the glass to create a seal. This helps protect the wood from moisture.
How to Fix Paint Bubbles on Walls
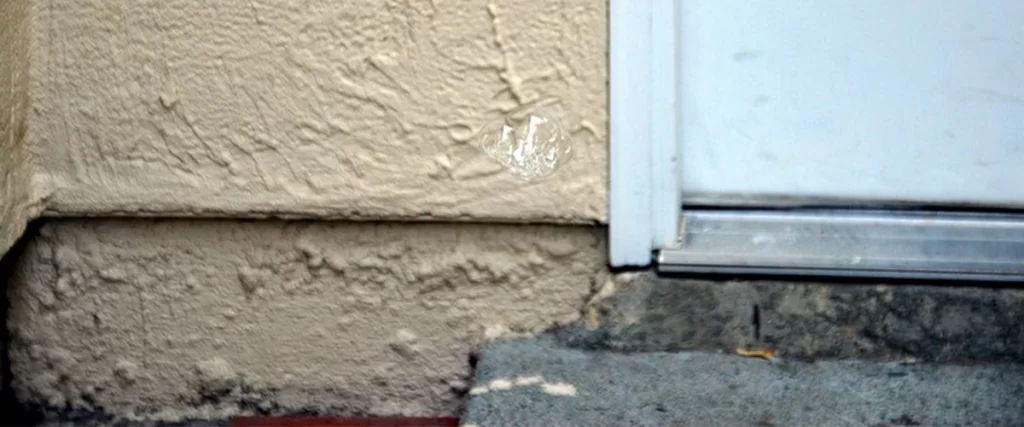
When wall paint bubbles, it’s typically a sign of improper adhesion, often caused by moisture or heat affecting the paint’s bond to the underlying surface. Before fixing the bubbles, it’s crucial to identify and address the underlying cause to prevent them from recurring. Once the cause is resolved:
- Scrape Off Bubbles: Use a paint scraper to gently remove all the bubbled paint.
- Sand Smooth: Sand the affected area until it’s completely smooth and free of any rough edges.
- Patching (if necessary): If scraping created depressions or removed significant portions of the wall surface, apply patching compound to level the area.
- Clean it: Remove all sanding dust and debris.
- Prime it: Apply a suitable primer to the repaired area to ensure proper adhesion for your new paint.
- Repaint it: Apply fresh coats of paint, blending seamlessly with the surrounding wall.

How to Remove Paint from Trim
Paint finding its way onto trim is a common occurrence. While keeping a damp cloth handy for immediate cleanups is the best preventative measure, if it’s already dry:
- Sand the Paint Off: For minor spots, gently sand the paint off the trim.
- Patching (if necessary): If sanding creates a divot or exposes the bare trim, use a small amount of wood filler or patching compound to smooth the area.
- Clean the Area: Wipe away any dust or debris.
- Touch Up: Carefully touch up the area with trim paint, ensuring it matches the existing finish.
How to Fix Wrinkled Paint (The “Bordeaux Mastiff Face” Look)
Your walls shouldn’t look like a wrinkled dog! Paint wrinkling, also known as “alligatoring,” usually happens when paint is applied too heavily, when not enough drying time is allowed between coats, or when painting in extreme hot or cold temperatures. To smooth things out:
- Sand the Area Down: Use sandpaper to thoroughly sand down the wrinkled paint until the surface is flat and smooth.
- Patching (if necessary): If the wrinkling was severe and sanding creates significant depressions, you might need to apply patching compound to level the surface.
- Clean it: Remove all dust and debris from the sanded area.
- Prime it: Apply a quality primer to ensure good adhesion and a uniform base.
- Repaint it: Apply new coats of paint, making sure to apply thin, even layers and allowing adequate drying time between coats. Also, try to paint in moderate temperatures to avoid future issues.
How to Remove Paint Stains from Carpet
Paint in the carpet is a pain, but acting fast can make a big difference. Do NOT scrub wet paint; this will only grind it deeper into the fibers.
For Wet Latex Paint:
- Dab with a Sponge/Wet Cloth: Take a clean sponge or wet cloth and gently dab the paint. Blot, don’t scrub, to lift the paint from the fibers. You might need to repeat this step multiple times with clean sections of your cloth.
- Dry and Blot: Place a dry cloth over the damp area and press down to soak up remaining moisture and paint. Repeat as needed.
- Clean: Once the stain is gone, use warm water mixed with a small amount of dish detergent to clean the area, then blot dry.
For Wet Oil Paint:
- Dab with Mineral Spirits: Take a sponge or wet cloth and dab the paint with mineral spirits. Always test in an inconspicuous area first to ensure it doesn’t damage your carpet.
- Consider a Professional: If the stain is large or persistent, it’s often best to consult a professional carpet cleaner. The thinners in oil paint can sometimes break down carpet glue, so expert handling is recommended.
For Dry Paint:
- Soften with Hot Water & Detergent: Pour a small amount of hot water mixed with dish detergent directly onto the dried paint stain. Let it sit for a few minutes to soften the paint.
- Scrape: Once the paint has softened, use a dull table knife or the edge of a spoon to gently scrape out the paint chips. This method may not remove all the paint, but it can significantly reduce the stain.
How to Remove Tape Lines (When Paint Peels with Tape)
Did some of your freshly painted wall come off with the painter’s tape? This usually happens if the tape was left on for too long, allowing the paint to fully cure and bond to it. It’s generally best to remove painter’s tape within an hour or two after the final coat of paint, while it’s still tacky but not fully dry. If you’re dealing with paint that’s already peeled with the tape:
- Score and Cut: Use a sharp razor blade or utility knife to carefully score along the edge where the tape pulled off the paint. Cut off any raised paint or jagged edges left behind.
- Smooth: Use a sanding block to gently smooth the area until it’s flush with the rest of the wall.
- Clean it: Wipe away any dust.
- Prime it: Apply a small amount of primer to the exposed or corrected area.
- Paint it: Carefully paint the repaired section, blending it into the surrounding paint.
Painting Over a Hole Patch
If you’ve patched a hole or repaired a section of your wall, and after painting, you can still see the patch showing through the new paint, it’s a common issue related to uneven porosity or texture. Here’s the fix:
- Apply Primer: The key is to apply some primer directly to the patched area. Primer helps to seal the patch and create a uniform surface that absorbs paint evenly, preventing the patch from “flashing through” the topcoat.
- Choose Your Tool: While a small brush will work, using a small roller (like a 4 inch mini roller) for priming the patch can often help match the texture of the surrounding rolled wall more effectively.
- Let Primer Dry: Allow the primer to dry completely according to manufacturer instructions.
- Paint it: Apply your wall paint. Multiple coats may be necessary to perfectly match the texture and thickness of the paint around the patched area. Feathering out the paint on the edges of the patch can help it blend seamlessly.
Fixing Your Paint Problems with Sherwood Painting Services
It’s easy to tackle a small paint patch or a single drip if you have the time, the right tools, and a knack for DIY. But what if you’re facing an entire wall filled with roller marks, multiple rooms with uneven paint, or a combination of various frustrating paint problems?
At Sherwood Painting, an interior painter Cornelius NC, we possess the expertise, experience, and specialized tools to tackle any painting challenge. We understand the nuances of surface preparation, paint application, and problem solving, ensuring a flawless, durable finish every time.
Let our expert team transform your walls into the smooth, vibrant canvases they were meant to be. Contact Sherwood Painting today at (704) 924-1800 for a free estimate and discover the ease and quality of professional interior painting services!
Sherwood painting also serves Huntersville NC, Davidson NC, Mooresville NC & Lake Norman NC area.
