Protect Your Home And Make Cleanup Easier After Painting Your Marblehead Home
You’ll want to take smaller objects and pictures out of the room. Move larger objects to the center and cover them. Set down tarps on the floor and then…
Find all the steps and some tips in the post below-
Before We Start Painting
“We need to move things and take stuff down before we start, right?” Dan asks.
Ashley frowns and sets down her paint bucket. “Yes, you’re right. We don’t want paint getting into the carpet or anywhere else it shouldn’t be. Will you look it up and see if you can find out how to prepare a room for painting?”
Dan nods and takes out his phone. “Yeah, no problem. I’ll look up ‘how to prepare a room for painting’ and Google. It always has the answer, like it did with how to choose the right paint.”
Ashley goes to stand next to him and looks too. After a few minutes, they find the following:
Preparing A Room For Painting
- Remove anything you can carry, including window shades and blinds
- Take off light switch covers and outlet covers
- Move large objects to the center and cover them with tarps. If you’re painting a ceiling it’s best to remove them
- Note if you’re going to keep wall hangings in the same spots or not
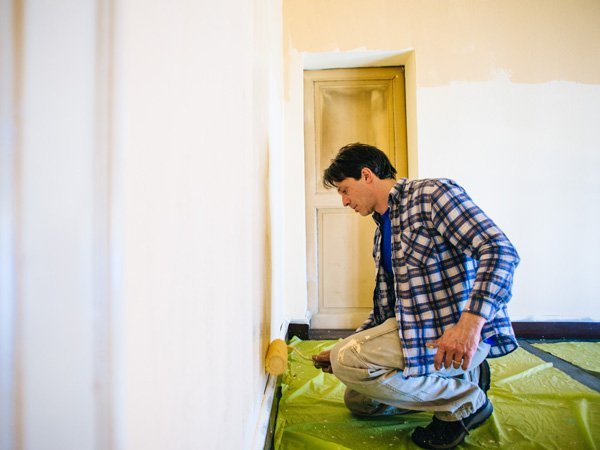
- Put down plastic tarps or drop cloths on the floor, being sure to cover the baseboards
It’s as hard to get paint out of some things as it is to get the sun to stop rising. That’s why moving and covering everything is super important.
When you unscrew the covers you’ll have small parts that are easy to lose. Place them in separate baggies and label them. This makes it easier to put everything back together.
You May Also Like To Read
Dan claps his hands together. “You ready to get this thing going?” Ashley slips the phone out of his hands. “I think I’d like to look around a bit more and see what else I can find on this site.”